Getting Started With Spacemacs
Spacemacs is a pre-made configuration for GNU editor Emacs. It combines the superior editing of vim and the extensibility of Emacs into one thing, as well as premade configs for many languages.
Installing Emacs
Depending on your operating system, installing Emacs should be quite effortless. On Arch Linux it’s as simple as
sudo pacman -S emacs
Once installed, it’ll look pretty terrible.
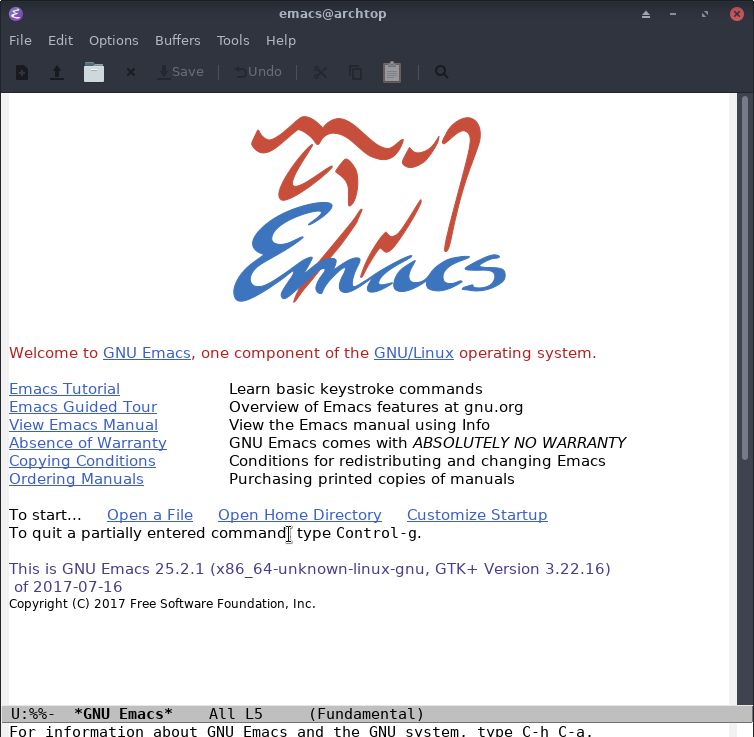 So let’s close out of that with
 C-x C-c (Ctrl-x Ctrl-c) and install Spacemacs. If we go to their website, you can see that the install string is to run
git clone https://github.com/syl20bnr/spacemacs ~/.emacs.d
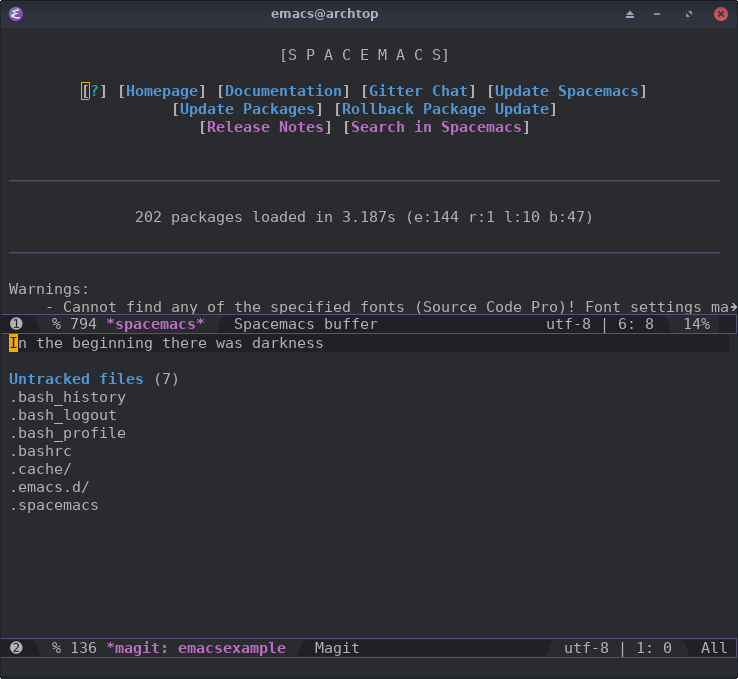
Then start emacs again, and you’ll be greeted with something that looks like this.
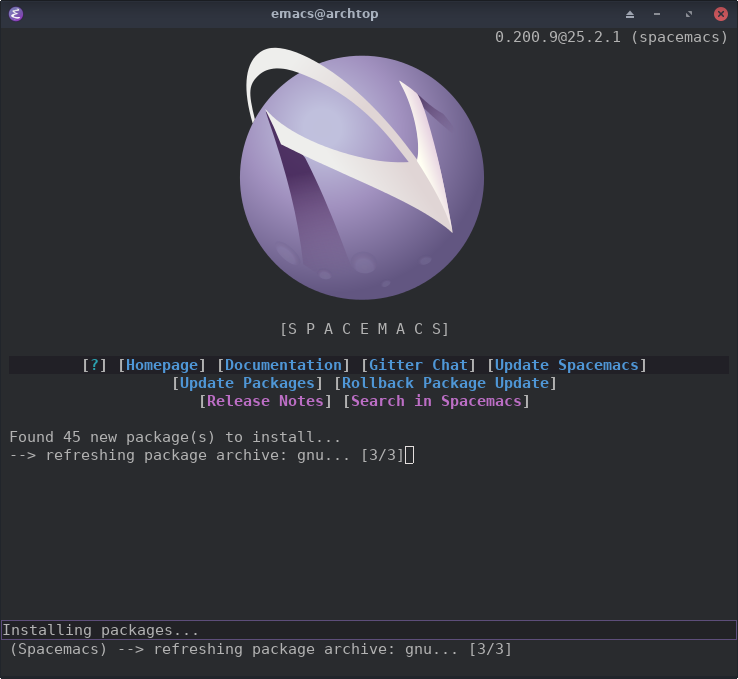
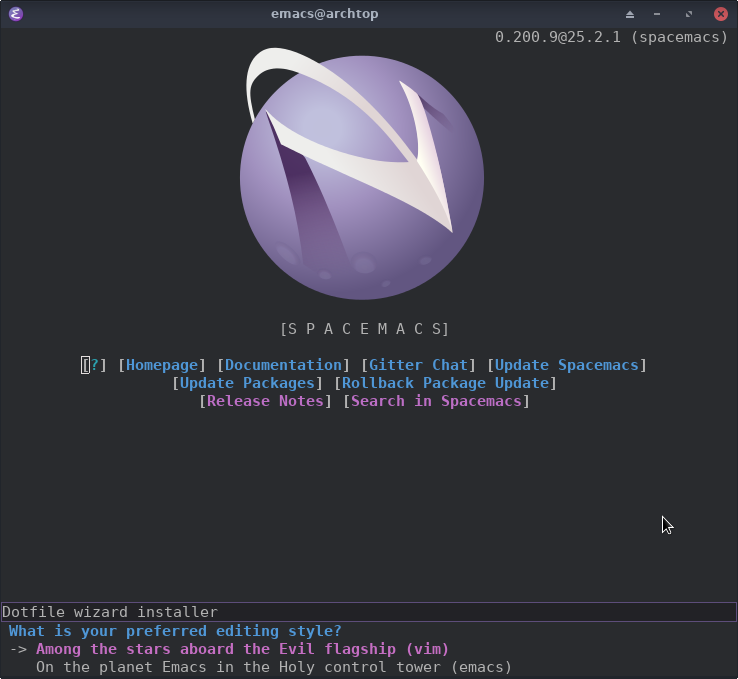 Hit enter a few times and wait for the packages to install.
 Once this is done, there’s a few things we have to do to get going in ruby. Before that, if you don’t know how to navigate around with vim keys, I suggest you take a look at the tutorial by pressing
 SPC-h-T and checking out The quickstart guide
Setting up Ruby
First off, we need to add a few layers. Layers are pre-configured groups of plugins made for emacs, to help you get straight into programming. Hit SPC-f-e-d to head to your config file and find the line that reads
   dotspacemacs-configuration-layers
   '(
     ;; ----------------------------------------------------------------
     ;; Example of useful layers you may want to use right away.
     ;; Uncomment some layer names and press <SPC f e R> (Vim style) or
     ;; <M-m f e R> (Emacs style) to install them.
     ;; ----------------------------------------------------------------
     helm
     ;; auto-completion
     ;; better-defaults
     emacs-lisp
     ;; git
     ;; markdown
     ;; org
     ;; (shell :variables
     ;;        shell-default-height 30
     ;;        shell-default-position 'bottom)
     ;; spell-checking
     ;; syntax-checking
     ;; version-control
     )
Edit it like so to add some necessary layers
   ;; <M-m f e R> (Emacs style) to install them.
   ;; ----------------------------------------------------------------
   helm
-  ;; auto-completion
+  auto-completion
   emacs-lisp
-  ;; git
+  git
   ;; markdown
   ;; org
-  ;; (shell :variables
-  ;;        shell-default-height 30
-  ;;        shell-default-position 'bottom)
+  ruby
+  ruby-on-rails ;; Skip me if you don't plan on doing rails
+  (shell :variables
+         shell-default-height 30
+         shell-default-position 'bottom)
   ;; spell-checking
-  ;; syntax-checking
+  syntax-checking
   ;; version-control
   )
Each layer does the following:
auto-completionAdds auto completion.gitAdds the magit client to emacs.shellEnables you to use your shell viaSPC-'rubyAdds the ruby layer, with code completion, highlighting, etc.ruby-on-railsHelper layer for rails development, navigating, etc.syntax-checkingEnables linting and inline display of things like rubocop.
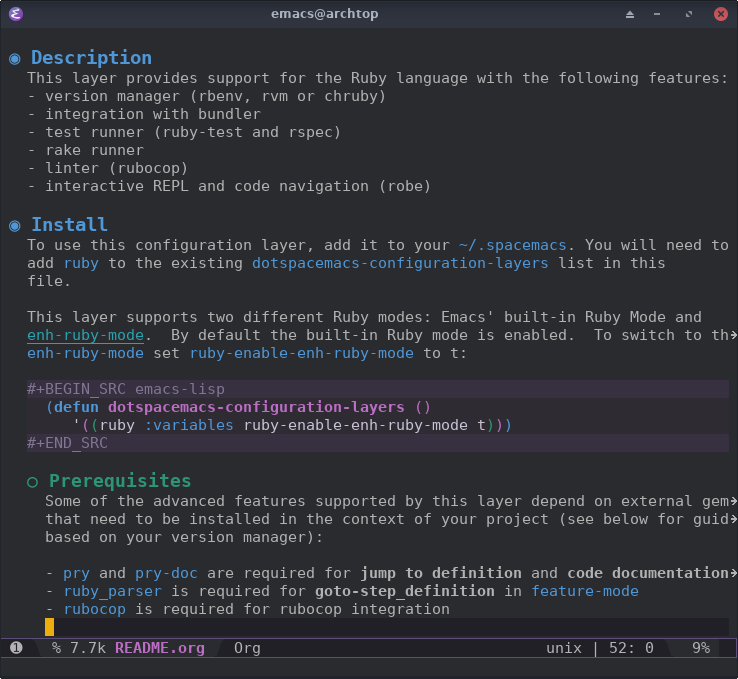
If you’d like to learn more, you can view their help docs with SPC-h-l
Now press SPC-q-r to restart emacs, and it’ll download all the packages.
To get ruby linting to work a bit better, we need to install a few gems by running the following in a shell
gem install pry pry-doc ruby_parser rubocop
You can read more about what these enable by pressing SPC-h-l ruby.
Basic navigation and editing
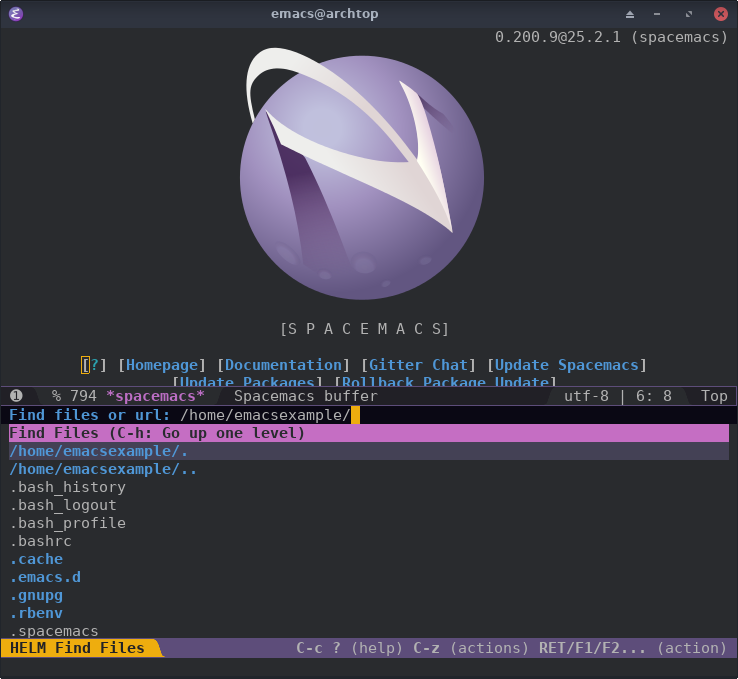
There are a few keys you need to know. To navigate between files you can use SPC-f-f.
To open the git client you can use SPC-g-s and then h to see keybinds.
If you’d like to see all the commands you have available when editing in ruby mode, you can see what the spacemacs ruby layer added by pressing SPC-h-l and then typing in ruby.
If you want to have a visual navigation of your files, you can press SPC-p-t. This only works if you are in a project (defined by being in a git project), so if you are not, you can press SPC-f-t instead.

Ruby shortcuts
Some handy shortcuts for ruby.
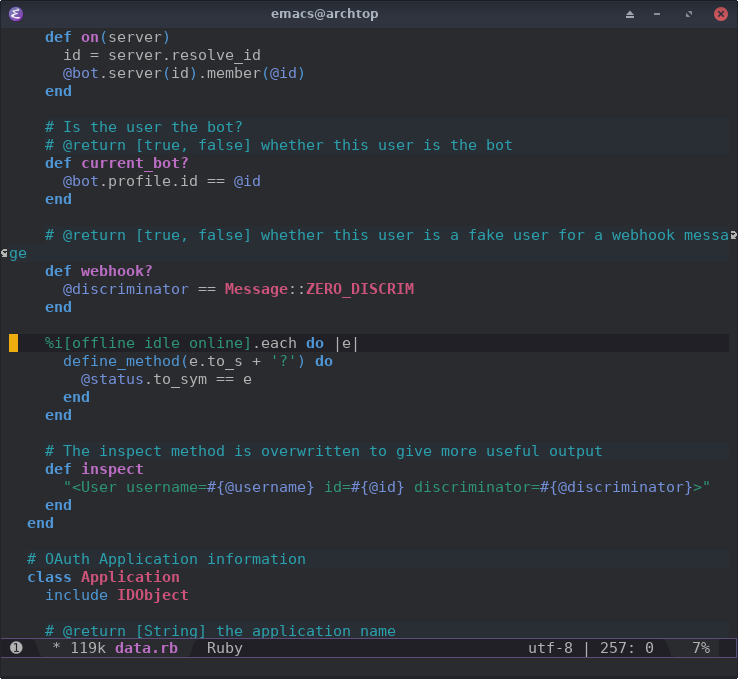
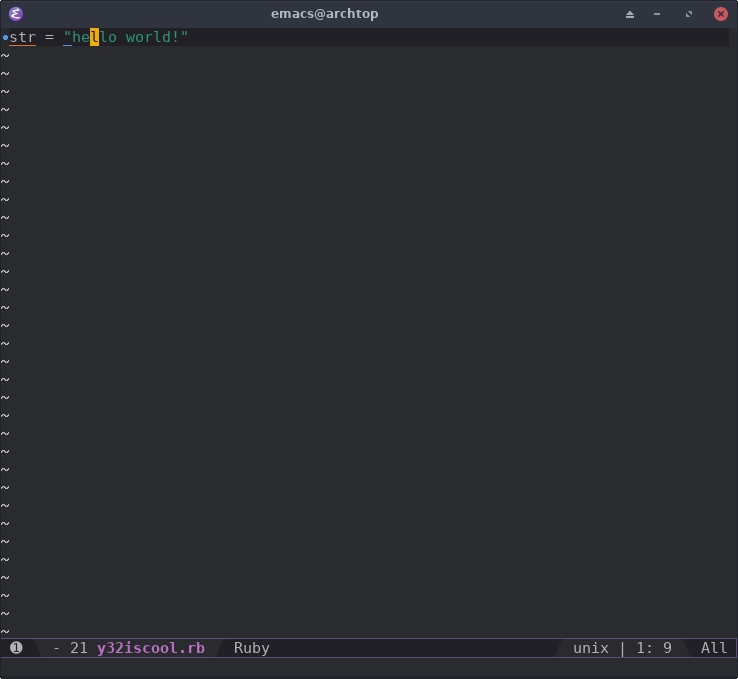
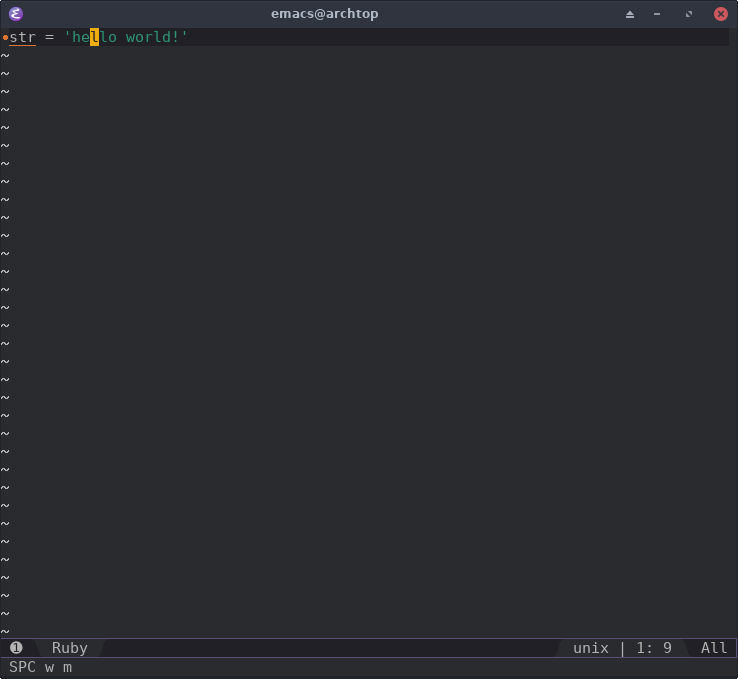
If you have rubocop throwing some basic linting errors, you can get it to auto-fix it by running SPC-m-r-r-F, like so
You can comment a line(s) by selecting it and commenting with SPC-;.
Final Tweaks
These aren’t necessary, but I like to make these tweaks when setting up my emacs.
Installing themes
Head to your config file and add themes-megapack to your list of layers and restart with SPC-q-r.
     ;; spell-checking
     syntax-checking
+    themes-megapack
     ;; version-control
You can then browse themes with SPC-T-s. Once you’ve found the theme you like (I pick monokai or solarized-dark), you can set it as default in Spacemacs by editing this line.
-   dotspacemacs-themes '(spacemacs-dark
+   dotspacemacs-themes '(monokai
+                         spacemacs-dark
                          spacemacs-light)
Changing fonts
If you’d like to change your font, head into your config file with SPC-f-e-d and look for this line
   dotspacemacs-default-font '("Source Code Pro"
                               :size 13
                               :weight normal
                               :width normal
                               :powerline-scale 1.1)
Change "Source Code Pro" to the font you would like and restart with SPC-q-s!